First, you have to take a few steps before you start creating your first time-lapse video. Make sure that your camera can time-lapse and is stable. Then, make a few test shots. You can also experiment using different shutter speeds to create the perfect time-lapse effect. Lastly, make sure that you shoot in the right light and don't miss any shots. Follow these steps to produce your own time lapse video.
Stabilizing your camera
Stabilizing your camera is an essential step when you are shooting time-lapses. If you are using a tripod, this is particularly important. If your camera is unstable, it will result in frames that look different. Fortunately, there are some post-processing techniques that will help you stabilize your time-lapse images. You can find out more information about them below. These will allow you to create a stable, smooth image that is ideal for time-lapses.
Create a time-lapse film
If you want to create a time-lapse video, you need to capture a subject that changes over time. Sunrises and Sunsets, stars moving, or people acting are all great subjects. Hyperlapse is a technique that uses a camera equipped with a motion sensor to allow the camera's movement. A few key pieces of equipment are required to create a time-lapse video.
Deflickering
One of the most powerful tools for cinematography is time-lapse videography, but flickering artefacts can make your videos look bad. Even experienced videographers have learned how to avoid flickering, but beginners can still end up with varying exposure values. Rob Nelson has created a time-lapse guide to de-flickering. You can read the full breakdown below to learn more about this troubleshooting procedure.
Test shots
Test shots are an excellent way to get a feel for the time-lapse project. You can use test shots to determine how your camera performs. These test shots can be useful for checking your camera's overall exposure, composition, and level of the horizon. These test shots allow you to adjust your settings prior to the actual event. Time-lapse photography demands that the subject change over time. Whether you're shooting a city skyline, sunset, or a changing beach, it's crucial to choose a subject that changes over time. Composition is also important for a time-lapse photo, so make sure to frame your shots using the rule of thirds. Don't add distracting elements into your shots.
Composition considerations
These are some important things to remember if you're thinking of creating your own timelapse videos. Shot composition refers how the imagery is organized within a frame. In a time-lapse video, for example, the motion of a subject or car changes over a period of time. A time-lapse video can be made with any lens you like, but it is best to use the full-frame sensor.

Lighting
Lighting a timelapse photo can be difficult. Although your camera can do the majority of the work, you'll still need to know how to adjust the shutter speed and aperture for best results. One of the biggest challenges is dealing with flicker, a discrepancy between successive shots caused by the movement of the shutter or lens. You can adjust the shutter speed and aperture combination in the manual. However, there are many ways to achieve the perfect exposure.
FAQ
Is photography a good job?
Photography allows you to record moments in time and share these with others. It is also a great way to make money if you are willing to put in the hard work. There are many routes to becoming a professional photographer. You can start by taking photos as a hobby for family and friends. This will help you to improve your skills as well as build your confidence. Once you have completed this stage you can move on and take on paid assignments. Photographers who are the best earn a living doing what they love. Photographers may be asked to photograph people at parties and weddings. The majority of professionals prefer to shoot commercial projects, such product shots or ads.
You can only be successful if you know what type of photography is your favorite. Then practice, experiment, and try new techniques until you get comfortable with the process. There is no substitute for experience, so don't expect to succeed overnight.
It is important that you first learn technical skills in order to be able to focus on creativity. Photography involves both artistic and technical aspects. It is important to learn the basics of composition and how to use the correct tools.
Also, consider whether or not you wish to pursue a career as a photographer full-time. Some people combine their passions for photography with other careers. You might be able to work for a local newspaper while also pursuing freelance projects. Others choose to dedicate their entire time to photography. Whatever the case, success in any creative area requires dedication and commitment.
A serious photographer will have to dedicate a lot more time and effort if they want to build a successful career. It is important to think carefully about what you really want to do with your life.
What Camera Should I Get?
That all depends on what kind of photographer you want to become. A basic point and shoot camera is enough if you are just starting.
Once you have mastered the basics you will likely need something more advanced. It really is up to you what you prefer.
Before you buy a camera, here are some points to remember.
-
Features: Which features are most important? Do you intend to use manual or autofocus settings? How many megapixels does your camera have? Is there a viewfinder on your camera?
-
Price: How much do you want to spend? Are you planning to upgrade your camera every year or two?
-
Brand: Are you happy with the brand that you choose? There is no reason you should settle for less.
-
Functionality: Can you use your camera in low light situations? Do you have the ability to take high-resolution pictures?
-
Image Quality: How clear and sharp are your images?
-
Battery Life: How long can your camera last before it needs to be charged?
-
Accessories: Will you be able to attach additional lenses, flashes, etc. ?
How do you get started in digital photography
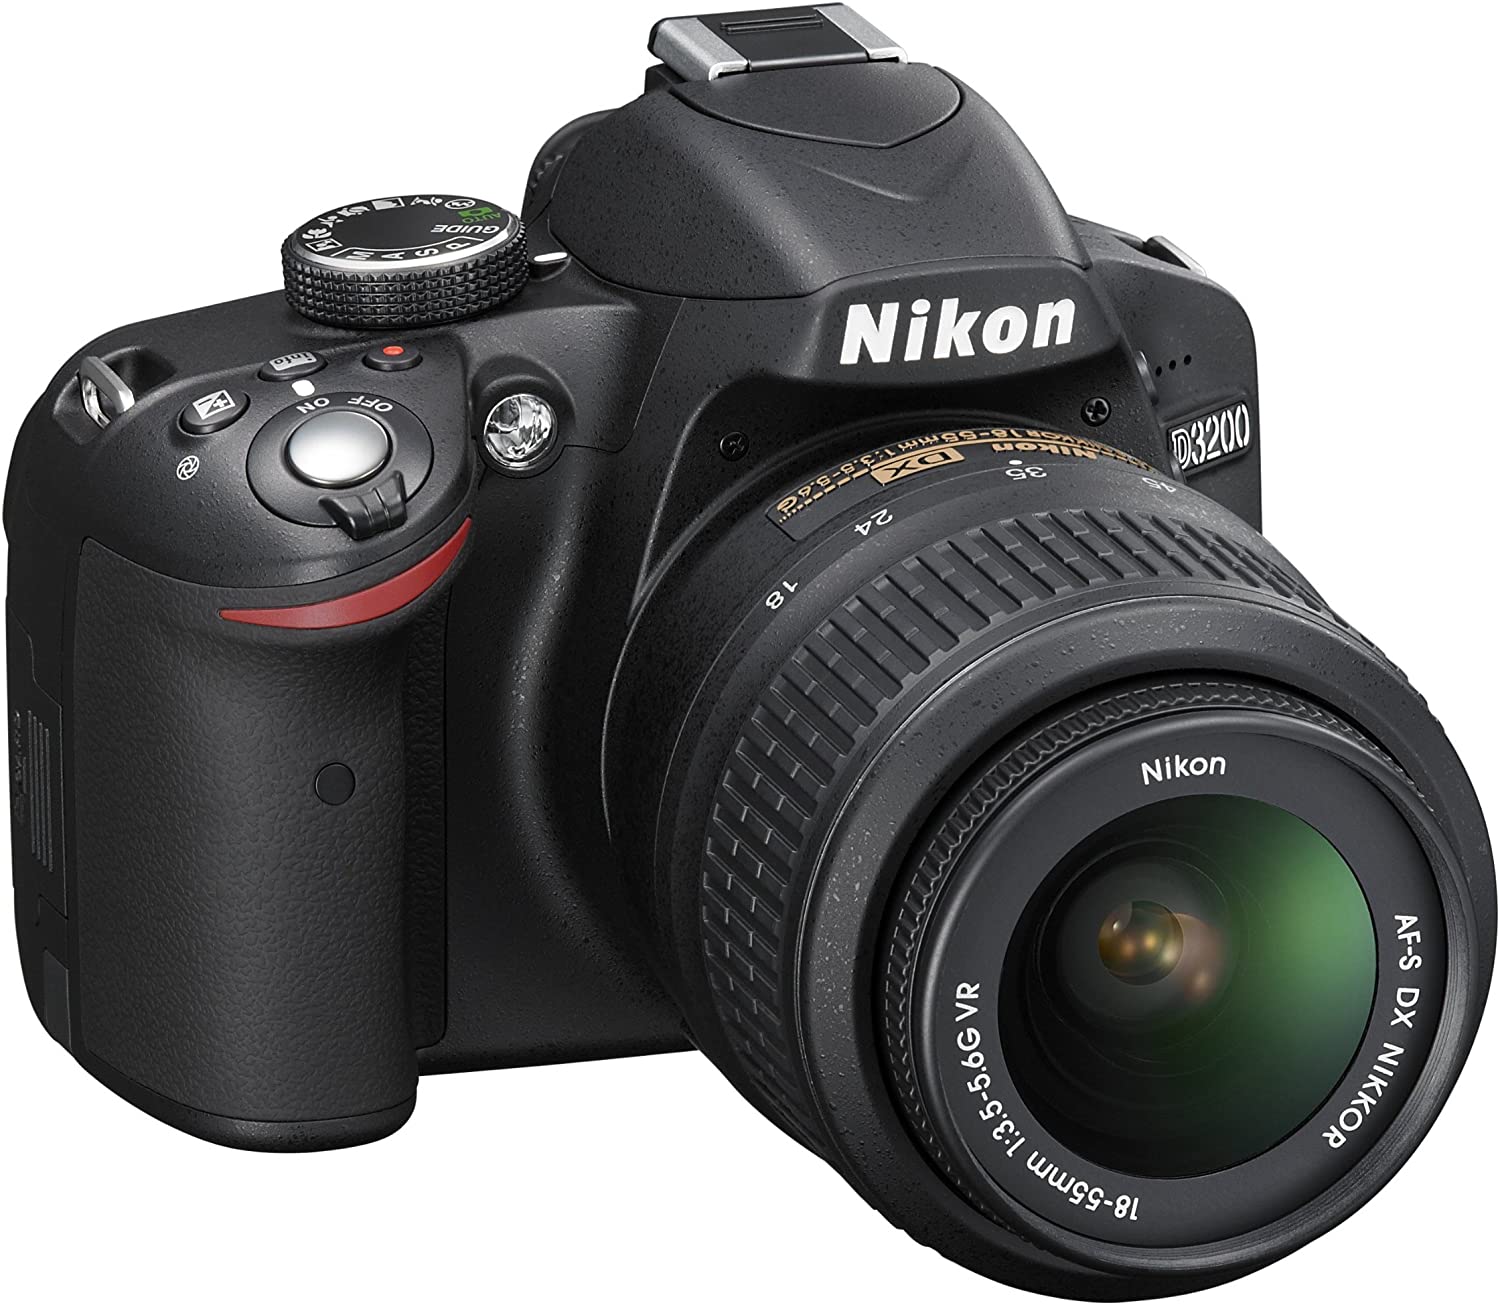
If you are just starting to get into digital photography, the most important thing is to choose which camera you would like. You have several options, including DSLRs (digital single lens reflex cameras), point-and-shoot compact cameras, camcorders, and smartphones. Each offers different features and benefits. DSLR cameras can produce high-quality images, but they are usually heavier and more bulky than other types. Point-and shoot cameras are smaller, lighter and have more automatic settings. Camcorders offer excellent video recording capabilities, and may also have still photo shooting modes. Smartphones are lightweight, portable, and light. They offer excellent image quality, advanced features, such as GPS mapping, music playingback, and Internet browsing.
Once you have made your decision on the camera type you wish to purchase, it is time to decide if you want to buy a used one or a brand new one. Cameras that have been used in recent years can often be found for a reasonable price. Newer models cost more, as manufacturers spend a lot of money on developing new technology.
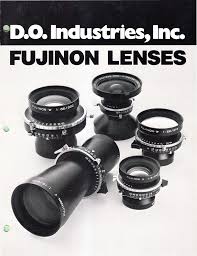
Next, you need to purchase lenses. Lenses are a critical part of determining the quality your photos. You can adjust the focal length of the lens to allow you to zoom in on the scene without losing focus. Some lenses come with built-in flash units while others need external flash units. A wide range of lenses is available from various brands, each offering unique characteristics.
Finally, you need to purchase memory cards. Memory cards store pictures taken by your camera. Depending on the size of your card, it could hold hundreds or even thousands of pictures. Multiple memory cards are required if you intend to take many pictures.
Which Lenses should I Use?
The most popular question that beginners ask is "What lens do I need?" The choice is difficult because of the many options.
The good news? You don’t have to purchase a completely new lens for every new camera you buy. You can simply add lenses later.
Here are three types of lenses to start with.
-
Wide Angle Lens (14mm-24mm): These lenses have a wide view angle that will allow you to capture more of your subject. You can zoom in to improve image quality.
-
Normal/Standard Zoom Lens (28mm to 70mm) : These lenses allow you the flexibility of changing focal lengths, while still maintaining high quality images.
-
Telephoto Zoom Lens (70mm, 200mm): These lenses work well for distant subjects. They allow you to focus on your subject despite the fact that they may seem small in the frame.
You can also combine these lenses to create different effects. You can use a normal lens for close-up detail and switch to a zoom lens to capture distant objects.
Statistics
- By March 2014, about 3 million were purchased monthly, about 30 percent of the peak sales total. (en.wikipedia.org)
- There are people out there who will pick at flaws they can only see in 100% crops of your photos. (wikihow.com)
- The second easiest way to get blurry photos 100% of the time is to use a cheap filter on the front of your lens. (photographylife.com)
- Get 40% off Adobe Creative Cloud(opens in new tab) (creativebloq.com)
External Links
How To
How to take pictures in low lighting conditions
Low-light photography means taking photos in dimly lit areas. This requires special equipment and techniques. The main challenges include controlling exposure, white balance, and sharpness. There are two kinds of low light photography. Flash photography works well when you have enough light. You will need a flash if you don't have enough natural light. You might need a flash if your subject is outside but indoors. Try shooting at night, during the moonlit hours, if you don't need a flash. This will allow you to get nice shadows and colors. Another option is to shoot during twilight. Twilight occurs when there is still daylight but the sun has set.
Long exposures may be something you want to explore. Long exposures let you capture images even after the shutter has been open several minutes. When the shutter remains closed, the camera records only light that falls on the sensor. This light continues to fall onto a photo sensor throughout a prolonged exposure. But, the shutter remains closed and no new light enters. The result is that there is very little movement. To ensure a clear image, you should turn off all automatic settings such autofocus or exposure. Before you begin shooting, adjust your ISO setting. A 200 ISO setting gives you greater control over how dark or bright your image looks. Next, click quickly on the shutter button to capture the shot. This causes the shutter to close completely. Hold the shutter button down for the final second. To prevent additional light entering the camera, hold the shutter button down. Once you take the shot, wait a while before you release the shutter. This allows the camera to process the image. While you wait, your photos will be displayed on your computer's screen. Save them once you are satisfied with them.