Photographing insects requires precise focus, close-ups and steady hands. For extreme close-ups, many point-and shoot cameras have a macro mode. You can buy add-on macro lense to increase the magnification. A high-quality macro lens will cost less than $150 in the U.S. For professional quality insects photography, however, you will need a DSLR, SLR, or camera with improved zoom.
Get as close as possible the insect
The movement of insects can make it difficult to photograph them. For this reason, a tripod or cable release is recommended. While you can capture the insect stationary with flash, you will likely need a tripod to do this type of photography. While you can capture the insect stationary in a web, flash is not necessary. However, insects in the web could move if you disturb them. Most other insect subjects require flash.
Avoid leaf- and branch-colors that are too light
Avoid using light-colored branches or leaves to photograph insects. The background should be defocused and smooth. You should also avoid placing light-colored objects in your background as they can distract from the rest of the scene. Moving these objects is a good idea. The subject might appear smaller or less prominent when they are lighter colored. Avoid using flash when photographing insects. This technique is effective only if you have a good lighting source.
A macro lens is used
There are a few things you need to know when using a macro lens for photographing insects. The first is determining the best time of day to photograph your subject. Try to capture them when it is cooler, such as at dawn or dusk. The iPhone can be used for close-up shots. Once you've located a suitable location, the next step is to get close to the subject. Approaching insects can be made easier by standing or standing at a low angle. Wait for them to feed so they are attracted to you.
Dark backgrounds are best
Photographing insects as they move around during their day is one of the best ways you can capture them. Because they come in many different colors and move quickly, it can be difficult to capture their exact movements. For this reason, it is best to photograph them from a low angle, using a shallow depth of field. This allows you to focus on your subject while blurring the background. The pollen in a flower attracts insects.
Avoiding blurry photos
The most obvious way to avoid blurry photos when photographing insects is to use a tripod. You can use a self-timer, remote, or cable release if you don’t have a tripod. Press the shutter to produce a slight movement. This will cause blurry images that will be magnified. You can avoid blurry photos by using a ring flash. Ring flashes, which are shaped like a doughnut, attach to the lens' end. Ring flashes provide a stunning contrast between color, detail and shadow.
Sharpening an insect's eyes
An important aspect of a photo that can improve the quality is sharpening the eyes of an insect. A photograph of an insect that has its eyes well-lit can be a great way to capture a moment you both will remember and share with your viewer. There are many ways to do this. Here are some useful tips. These tips will make your insect photography photos more appealing. Let's first look at the most popular methods to take great photos.
FAQ
How do I get started with digital photography?
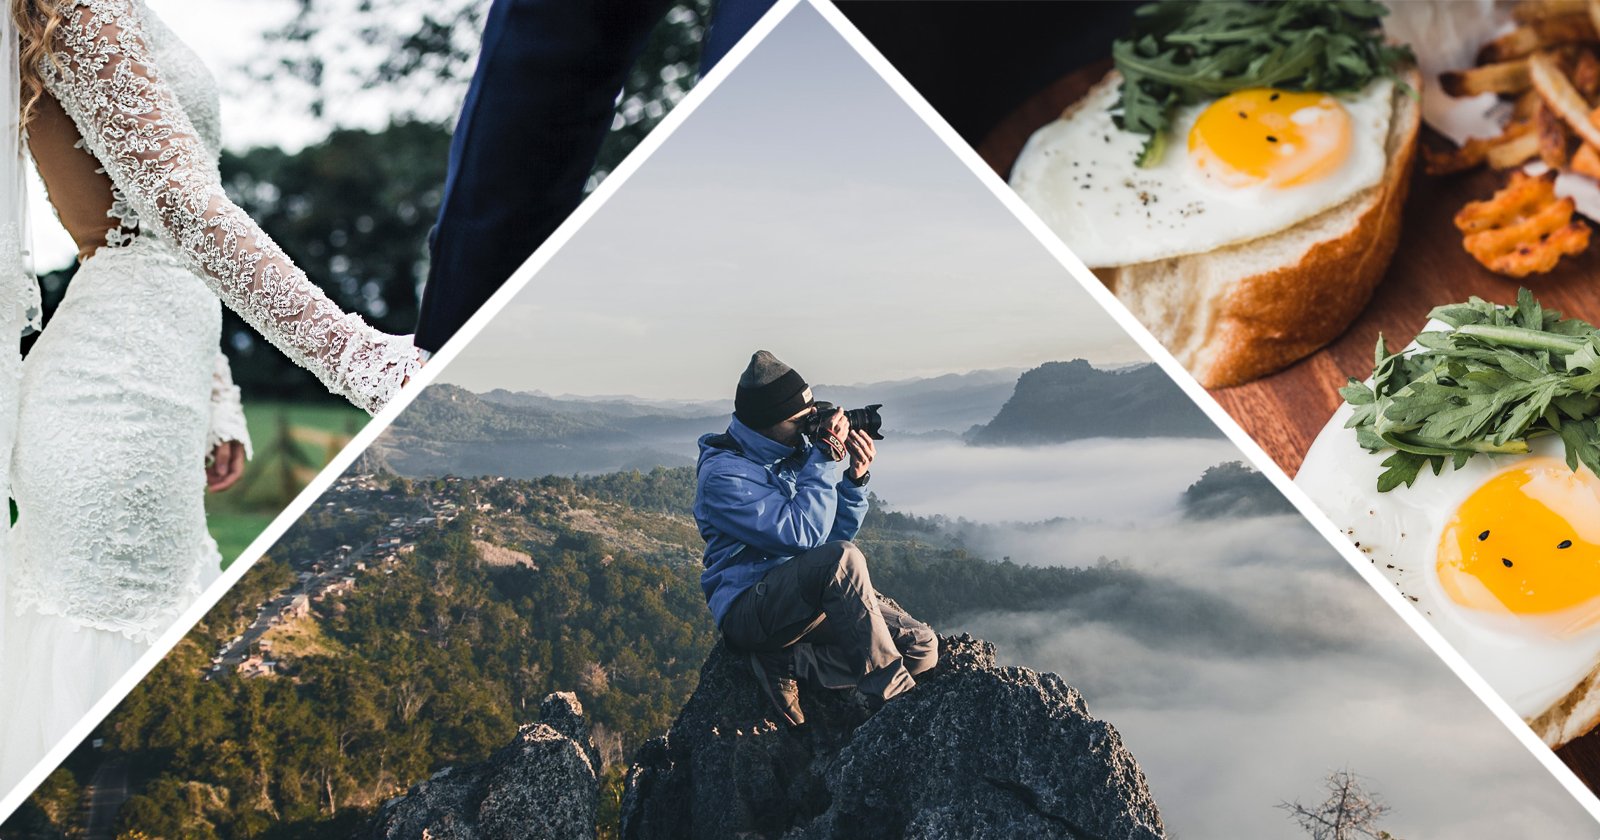
If you are just starting to get into digital photography, the most important thing is to choose which camera you would like. There are many options: DSLRs (digital Single Lens Reflex Cameras), point-and–shoot compact cameras or camcorders. Each has its own benefits and features. DSLR cameras, however, are larger and heavier than most other types of cameras. Point-and-shoot cameras are smaller and lighter and often include automatic settings for certain situations. Camcorders can record excellent video and have some still photography modes. Smartphones can be small and lightweight and are easy to transport.
Once you've made a decision about the type and model of camera you want, then you must decide whether you want to buy it new or used. You can find affordable used cameras, particularly if you bought them in the last few years. New models generally cost more because manufacturers spend large amounts of money developing new technology.
Next, purchase lenses. The quality of your photos is directly affected by the lens. You can adjust the focal length of the lens to allow you to zoom in on the scene without losing focus. Some lenses can be equipped with flash units that are built-in, while others may require external flash units. Many brands offer many lenses with unique characteristics.
Finally, you'll need to buy memory cards. Memory cards can store pictures that were taken with your digital camera. It can hold hundreds to thousands of photos, depending on how big your card is. If you plan to shoot lots of pictures, you will need multiple memory cards.
Which camera is best for beginners?
Your budget, your needs, and your skill level will determine which camera is best for beginners.
You might consider a point-and shoot digital camera if you are trying to save money. These cameras can be very versatile, but they offer excellent quality.
Digital Single Lens Reflex (DSLR) cameras can be equipped with interchangeable lenses that enable you to shoot different types. They usually cost more than point-and-shoots but give you much greater flexibility.
For those new to photography, a beginner's kit is a great place to start. The package includes everything you need: a camera, lens, memory cards, tripod, flash and a camera body.
Make sure to purchase extra batteries.
What makes a good camera backpack?
A camera bag protects your gear and is essential when traveling. Here are some factors to keep in mind when choosing a bag.
-
Sizing: A large bag will hold your camera and other accessories. Do not buy more than you need.
-
Durability: Buy bags made of durable materials like canvas, nylon or leather. Avoid plastic and fabric bags.
-
Protection: Make sure your bag protects against dust, dirt and moisture.
-
Organization: Consider organizing your gear by type to easily access your needs. So, you can place your lenses in one box, your memory cards in another and your battery charger in a third.
-
Comfort: Avoid carrying around a bulky bag when you are shooting. Instead, carry a shoulder belt. You should also look for a design that is comfortable and has padded straps.
-
Price: Compare prices to get the best deal. Discounts are sometimes offered by some brands, which can be a bonus.
-
Warranty: Check to see if the company offers a limited warranty. This way, if anything happens to your bag, you know who to contact.
Why use Light Room to enhance your pictures?
It is important to begin early in order to have great photos. It is always better to take as many photos as you can and then choose the best.
This is possible because Lightroom lets you see how different settings affect each image. You can adjust these settings instantly without returning to Photoshop. This lets you quickly experiment with what looks great and what doesn't.
How can my phone improve my photo skills?
You don't need expensive equipment to take great photos! Amazing images can be captured with a smartphone.
Just need to learn the basics of how to use it all.
There are many apps to help you edit and share your photos on both Android and iOS.
Here are five tips to help get you started taking better photos.
-
Set Up Your Camera App. Your camera app should come pre-installed on your device. Download it from Google Play, Apple's App Store or Google Play.
-
Use effects and filters. Filters and effects allow you to change the appearance of your photo without having to touch your image.
-
Adjust Exposure. You can adjust the exposure to control the brightness of your photo.
-
Shoot In The Right Light. Photographing in bright lighting makes it easier for you to see details within your subject. Shooting in low light conditions lets you capture the shadows and highlights in your image.
-
Photograph People. Taking pictures of people shows others the things you love most.
For more information on how to take better photos, read our article: 5 Tips to Improve Your Photography Skills With A Smartphone
Statistics
- While I cannot prove that all of those spots were not sensor dust, the photo was taken during a heavy snowstorm…so I guess that 99.8% of the spots are snowflakes. (bhphotovideo.com)
- This article received 13 testimonials, and 100% of readers who voted found it helpful, earning it our reader-approved status. (wikihow.com)
- By March 2014, about 3 million were purchased monthly, about 30 percent of the peak sales total. (en.wikipedia.org)
- That's the easiest way to get blurry photos 100% of the time. (photographylife.com)
External Links
How To
Lightroom and Photography: How to Use it
Adobe Lightroom is a powerful tool for photographers who want to edit photos quickly and easily. It allows you to import your images into one place where they can be viewed, edited, cropped, lightened, and saved. You can also email, print, and share your images online.
Lightroom has many editing tools, including cropping, adjusting contrast, brightness, and color balance. Lightroom also offers presets to make common effects like vignette, lens distortion, and black and white conversion. This is the best thing about Lightroom: these adjustments are automatically applied when you export your images.
Adobe Bridge allows access to Lightroom. This allows you browse your collection and organize your files. To find images later, you can add keywords to them.
Lightroom's free trial version is a good choice if you're just getting started. This provides all the basics. You have two options when you decide to upgrade. Either you can purchase the full version, or you can subscribe.
Lightroom can downloaded in many ways. One option is to purchase the software directly from Adobe. You can also download the trial edition and convert it into a purchased license. Here are the steps.
-
Lightroom Trial Version
-
Launch the program. Click "Convert to License" in the bottom right corner.
-
Enter your payment information and select the type license you wish (permanent, one year)
-
Click "Continue" to complete the process.
-
Once you've converted the trial to a full-paid license, you are allowed to continue using it for the remainder of the term.